
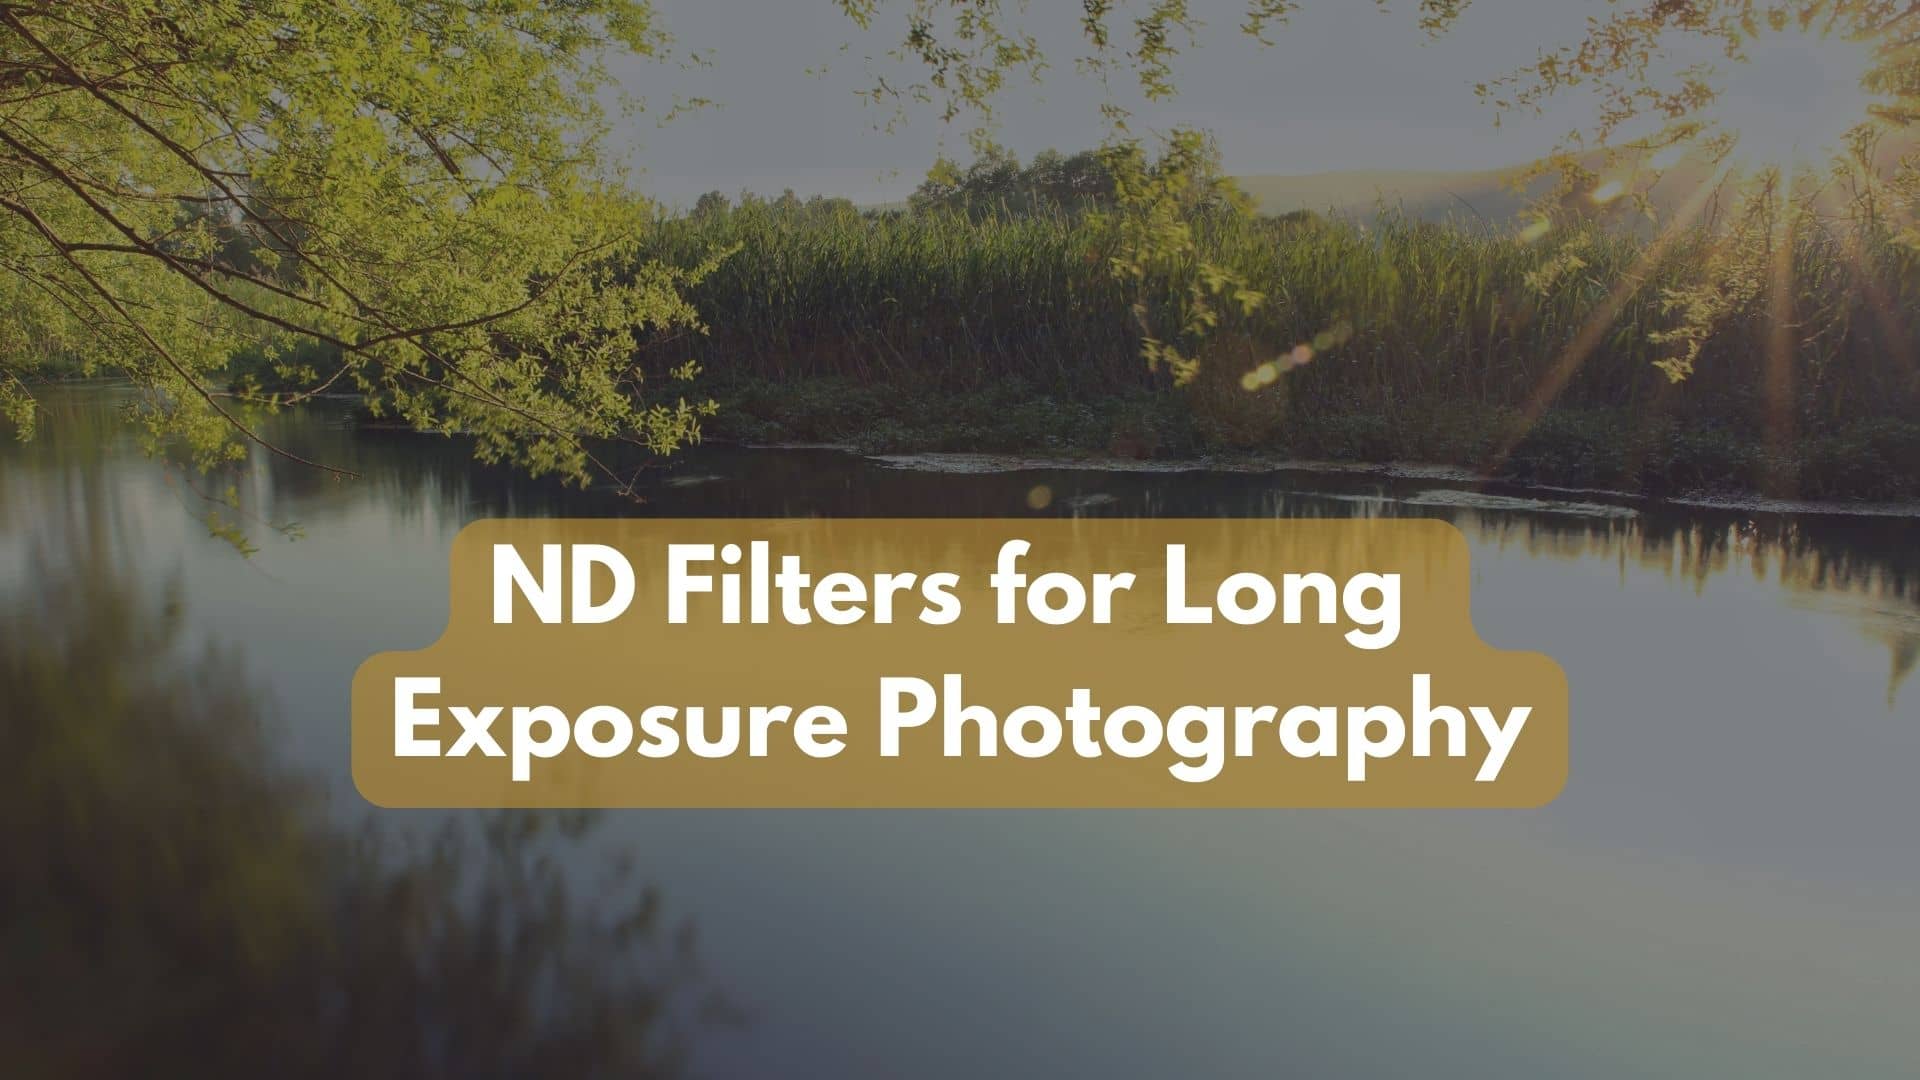
In “A Beginner’s Guide to Using ND Filters for Long Exposure Photography,” we’ll take a closer look at how ND filters can enhance your long-exposure photography. ND filters, or neutral density filters, are a valuable tool for photographers looking to create stunning images with blurred motion and smooth water effects.
Whether you’re new to the world of long-exposure photography or simply looking to expand your skills, this guide will provide you with the essential information to effectively use ND filters in your photographic adventures. So grab your camera and let’s get started on this exciting journey!
Choosing the Right ND Filters
Understanding ND Filters
ND filters, or Neutral Density filters, are essential tools for long exposure photography. They work by reducing the amount of light that enters your camera’s sensor, allowing you to achieve longer exposure times even in bright conditions. This helps you capture stunning images with smooth water effects, streaking clouds, and other creative effects.
Different Types of ND Filters
There are various types of ND filters available, each with its own characteristics and uses. The most common types include screw-on filters, square/rectangular filters, and variable ND filters.
Screw-on filters are the most widely used and attach directly to the front of a lens. They come in different strengths, ranging from 1-stop to 10-stop filters. Square/rectangular filters are commonly used by professionals and allow for more flexibility in filter positioning. Variable ND filters offer adjustable light reduction, allowing you to quickly change the amount of light being blocked.
Determining the Strength of ND Filter
The strength of an ND filter is determined by the number of stops it reduces the incoming light. The higher the number of stops, the darker the filter and the longer the exposure time required. Choosing the right ND filter strength depends on the available light, your desired exposure time, and the creative effect you wish to achieve.
Camera Settings for Long Exposure Photography
Aperture Setting
When using ND filters for long exposures, it’s important to consider the aperture setting. A narrower aperture, such as f/8 or f/11, can help maintain sharpness throughout the image and increase the depth of field. However, you may need to adjust the aperture based on the available light and the desired creative effect.
ISO Setting
To achieve the best image quality, it’s recommended to keep the ISO as low as possible, typically between ISO 100 and 400. Lower ISO values reduce the amount of digital noise in the final image, resulting in cleaner and more detailed long exposure shots.
Shutter Speed Setting
The primary purpose of using ND filters is to achieve longer exposure times. Adjusting the shutter speed is crucial in capturing the desired effect, whether it’s silky smooth waterfalls or blurred cloud movements. Experiment with different shutter speeds and take test shots to determine the ideal exposure time.
Understanding Exposure Time
Effects of Different Exposure Times
The exposure time, or the duration the camera’s shutter remains open, greatly impacts the overall look of your long exposure photos. Shorter exposure times freeze any movement in the scene, while longer exposure times blur moving elements, resulting in captivating and ethereal images. Understanding the relationship between exposure time and the desired effect is crucial for successful long exposure photography.
Calculating Exposure Time with ND Filters
Calculating the correct exposure time when using ND filters isn’t always straightforward. It requires a bit of trial and error. A useful technique is to calculate the base exposure time without any filters based on the camera’s metering, and then adjust it based on the ND filter’s strength. Many photographers use ND filter exposure calculators or smartphone apps to simplify this process.
Avoiding Overexposure
One challenge in long exposure photography is avoiding overexposure, especially when using strong ND filters. To prevent washed-out or blown-out highlights, it’s important to regularly check the histogram and make adjustments as necessary. Additionally, using the camera’s highlight warning feature, if available, can help identify areas of potential overexposure and adjust accordingly.
Using Graduated ND Filters
What Is a Graduated ND Filter?
A graduated ND filter is a specialized filter that features a darkening effect on one end and gradually transitions to clear or less dense on the other end. This type of filter is particularly useful when there is a significant difference in brightness between the sky and the foreground in your scene. By placing the darkened portion over the sky, you can achieve a more balanced exposure and retain detail in both areas.
Types of Graduated ND Filters
There are different types of graduated ND filters, including hard-edge and soft-edge filters. Hard-edge filters have a distinct and abrupt transition between the darkened and clear sections, while soft-edge filters have a smoother and more gradual transition. The choice between the two depends on the scene and the desired effect.
Proper Placement and Angling
When using a graduated ND filter, it’s important to position it correctly to achieve the desired effect. The transition area of the filter should align with the horizon line or any other natural boundary in the scene. Properly angling the filter ensures a seamless blending between the darkened and clear sections, resulting in a more natural-looking image.

This image is property of pixabay.com.
Metering with ND Filters
In-Camera Metering
In-camera metering can be challenging when using ND filters due to the reduced amount of light reaching the camera’s sensor. One technique is to use spot metering, which measures the brightness of a specific area in the scene. You can meter for the darkest part of the scene and adjust the exposure settings accordingly. However, it’s important to check the histogram and make adjustments if needed.
Using a Separate Handheld Light Meter
Using a separate handheld light meter is a reliable alternative for accurate metering when using ND filters. The meter measures the light intensity and provides precise exposure recommendations. By taking readings without the filter and adjusting the exposure settings accordingly, you can ensure optimal exposure even with strong ND filters.
Bracketing and Exposure Compensation
Another technique to overcome metering challenges is to use bracketing and exposure compensation. Bracketing involves taking multiple shots at different exposure levels, ensuring at least one of the shots captures the desired exposure. Exposure compensation allows you to manually adjust the exposure settings based on the filter’s strength and its effect on the overall exposure.
Also Check: 10 Key Settings to Adjust for Astrophotography
Preventing Light Leaks
Identifying Potential Light Leak Sources
Light leaks can significantly impact the quality of your long exposure images. It’s important to identify potential light leak sources, such as gaps in the camera body, lens connections, or poorly fitting filters. Inspect your equipment regularly and take necessary precautions to minimize or eliminate any light leaks.
Solutions for Preventing Light Leaks
To prevent light leaks, some photographers use black tape or foam gaskets to cover potential areas of light seepage. Another effective solution is to use a specialized light-blocking device, such as a lens hood, to shield the lens from any stray light. Additionally, using a filter holder system specifically designed to minimize light leaks can be beneficial.
Covering the Viewfinder
Covering the viewfinder is often overlooked but essential when using ND filters. Stray light entering through the viewfinder can affect the exposure accuracy and result in unwanted artifacts. Utilize the viewfinder cover provided with your camera or use a makeshift cover, such as a piece of dark cloth, to block any potential light from entering the camera.
Reducing Vibrations and Camera Shake
Using a Sturdy Tripod
When capturing long exposure images, it’s crucial to use a sturdy tripod to minimize vibrations and camera shake. A solid tripod provides stability and ensures sharp images. Look for tripods made of durable materials and consider their maximum load capacity to accommodate your camera and lens setup.
Remote Shutter Release
Using a remote shutter release or a cable release is an excellent way to trigger the camera without physically touching it. This further reduces the risk of introducing vibrations or camera shake. Remote shutter releases are available in various forms, including wired and wireless options, catering to different shooting scenarios.
Mirror Lock-Up Function
Some cameras offer a mirror lock-up function, which temporarily raises the mirror before capturing the image. By eliminating the movement caused by the mirror flipping up, the mirror lock-up function further reduces the potential for camera shake. Consult your camera’s manual to learn how to activate this feature.
Working with Moving Subjects
Creating Artistic Effects with Moving Water
Long-exposure photography allows you to create stunning effects with moving water, such as silky-smooth waterfalls and rivers. Experiment with different shutter speeds to capture the desired effect. Slower shutter speeds, achieved with stronger ND filters, will blur the movement even more, resulting in a dreamy and ethereal look.
Using ND Filters for Capturing Cloud Movements
ND filters are also great for capturing the movement of clouds in the sky. By using longer exposure times, the clouds will appear blurred, creating a sense of motion in the image. Combine this technique with the proper placement of a graduated ND filter to achieve a balanced exposure between the bright sky and the landscape.
Tips for Photographing Moving Subjects
When photographing moving subjects, such as people, vehicles, or wildlife, incorporating ND filters can add a unique touch to your images. Experiment with different exposure times to capture motion blur while still maintaining enough detail in the subject. Panning, where you track the movement of the subject with the camera, can also add to the dynamic effect.
Post-Processing for Long-Exposure Photos
RAW vs. JPEG
When shooting long exposures, it’s recommended to shoot in RAW format rather than JPEG. RAW files retain all the image information captured by the camera’s sensor, providing more flexibility for post-processing. JPEG files, on the other hand, compress and discard some of the data, making it more challenging to recover details in editing.
Basic Editing Techniques
Basic editing techniques for long exposure photos include adjusting the white balance, exposure, contrast, and sharpness. Additionally, you may need to enhance the colors, reduce noise, and straighten the horizon if needed. The goal is to bring out the best in your image while maintaining a natural and balanced look.
Advanced Editing for Long Exposures
For more advanced editing, consider using techniques like exposure blending or focus stacking if necessary. Exposure blending involves combining different exposures to achieve the desired dynamic range. Focus stacking is useful when you have multiple elements in the scene and want to ensure sharpness throughout the image. Experiment with different processing techniques to unleash the full potential of your long exposure photos.
FAQ
What Are ND Filters Used for?
ND filters are primarily used for long exposure photography. They reduce the amount of light entering the camera, allowing for longer exposure times. This enables capturing creative effects like silky smooth water, blurred cloud movements, and motion blur in various subjects.
How Do ND Filters Affect Image Quality?
When used correctly, ND filters generally have a minimal impact on image quality. However, using low-quality or poorly constructed filters may introduce unwanted artifacts or reduced sharpness. It’s important to invest in high-quality ND filters from reputable brands to ensure optimal image quality.
Can ND Filters Be Stacked for Increased Density?
Yes, ND filters can be stacked to achieve higher light reduction. By combining filters with different strengths, you can reach a desired overall density. However, it’s important to note that stacking multiple filters may introduce color casts or image degradation. Carefully consider the quality and compatibility of the filters when stacking them for increased density.
Conclusion
Long exposure photography with ND filters opens up a world of creative possibilities. By understanding the fundamentals and implementing the right techniques, you can capture breathtaking images that showcase the beauty of motion and time. Experiment, practice, and let your imagination roam freely as you embark on a long exposure photography journey filled with serenity and awe-inspiring results.